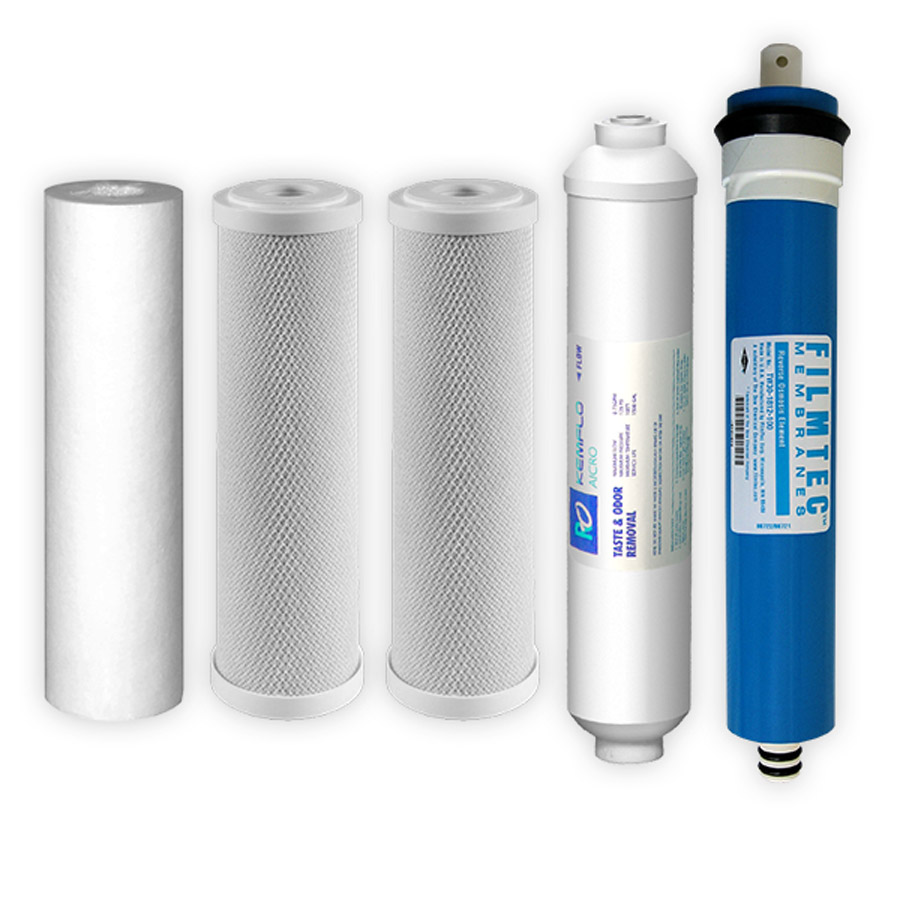
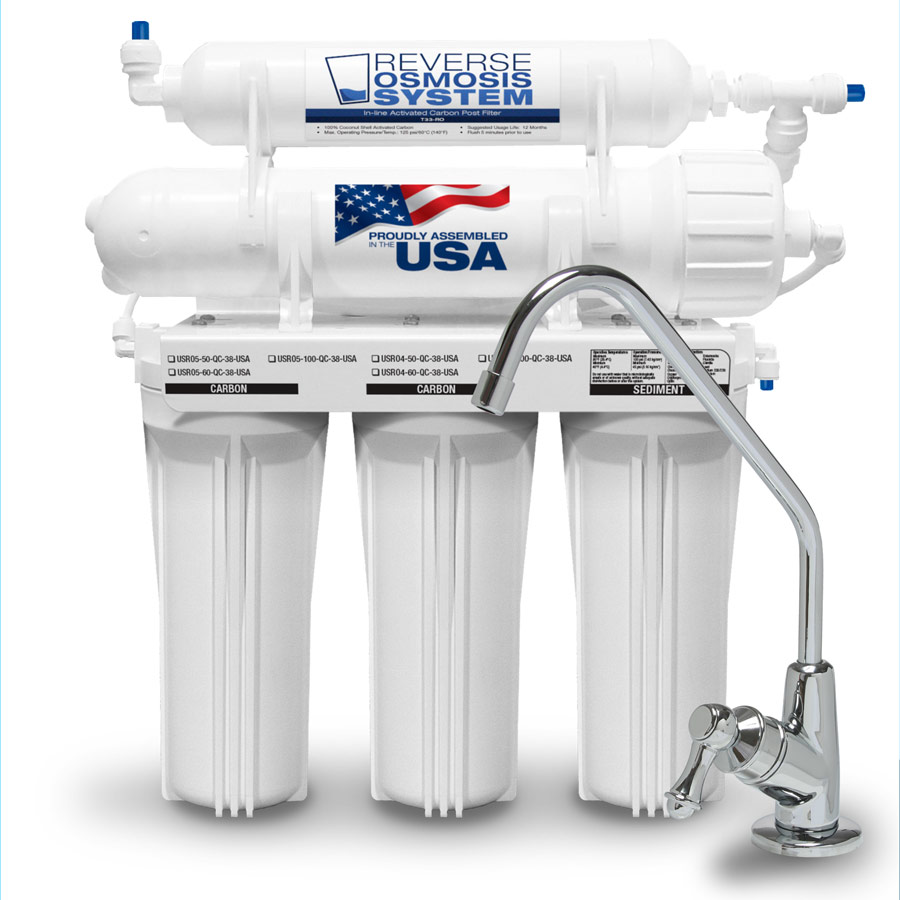
This 5-stage reverse osmosis filter replacement kit contains high-quality replacement cartridges for a typical 5-stage reverse osmosis system. This kit includes the following standard-size replacement cartridges for a 5-stage reverse osmosis system like the one shown below in residential and commercial applications.
5-Stage Reverse Osmosis Filter Replacement Kit Includes:
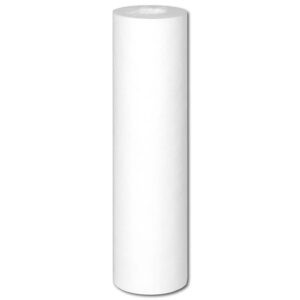
- (1) 5 Micron Melt Blown Sediment Cartridge
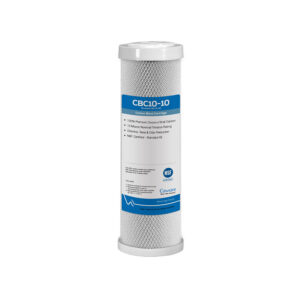
- (2) CBC-05(10) CA Ware 5 Micron Carbon Block
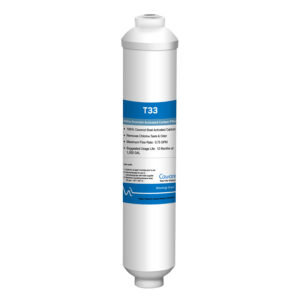
- (1) T-33-RO Inline Carbon Post-Filter
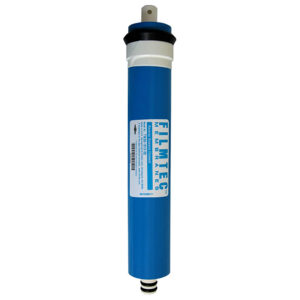
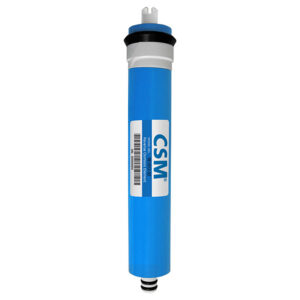
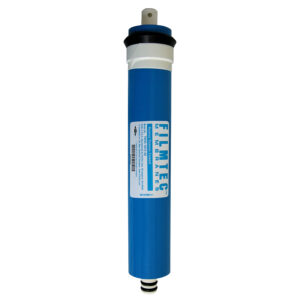
- (1) Choose a reverse osmosis membrane based on your gallon per day needs
- (1) Reverse Osmosis Replacement Instructions and Sanitizing Guide
💧 How to Install a Reverse Osmosis (RO) Water Filter (DIY)
Before you begin, make sure you start clean: always wash your hands or wear gloves when handling filters and cartridges.
For best performance, replace pre-filters and post-filters every year (annually, or more often if needed). The reverse osmosis membrane typically lasts about two years.
💦 What are the Steps to Replace a Reverse Osmosis Water Filter?
- Turn off the valve on the RO storage tank.
- Shut off the feed water supply.
- Open the RO faucet to release pressure.
- Using the provided housing wrench, unscrew the filter housings.
- Remove and discard the old filters.
- Clean the filter housings with a brush.
- Insert the new filters into the system.
- Replace the GAC post-filter.
- Remove the fittings from the old post-filter.
- Wrap fittings with Teflon tape.
- Install the fittings into the new post-filter.
- Turn the feed water supply back on.
- Reopen the tank valve.
- Flush the system by draining the entire tank of water.
- Run two additional whole batches to drain before using the water.
For a step-by-step guide with visuals, check out our complete RO installation guide:
👉 Reverse Osmosis Installation Guide
🔄 Ready for new reverse osmosis filters? Count on our supply.
👉 Shop Reverse Osmosis Cartridge Kits